
Yes. An assembled dresser still needs its anti-tip anchoring addressed. CPSC’s Anchor It campaign recommends securing furniture with drawers, doors or shelves to the wall. Completing the frame and drawers does not establish that the dresser has been anchored. CPSC Anchor It guidance
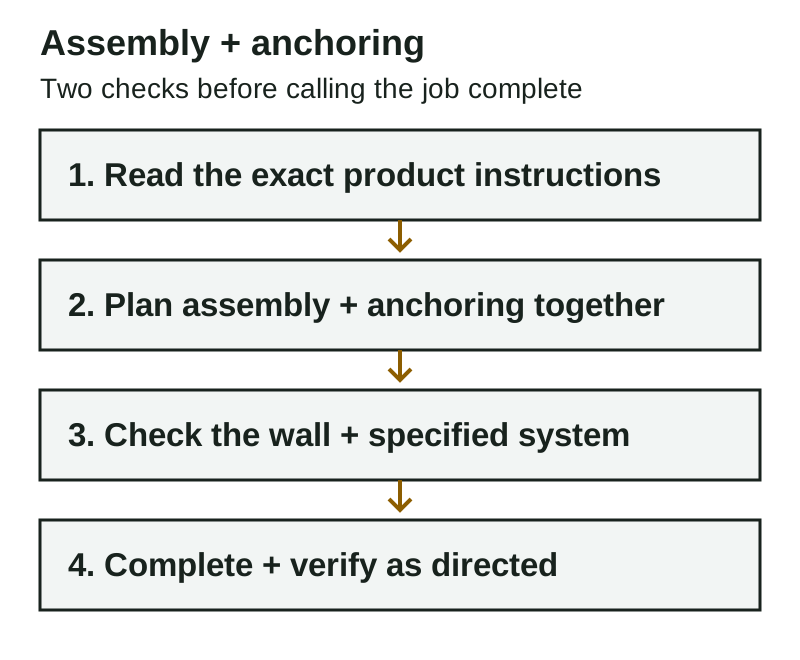
Use the exact furniture manual and the applicable restraint instructions to plan the fastening details. The wall construction and the furniture’s designated attachment points need checking before installation.
Separate the two completion checks
Assembly checks include whether the supplied components are fitted and secured as the manual directs. Anchoring checks concern the specified connection between the furniture and a suitable wall attachment. A dresser can look finished while that second check remains unresolved.
Do not judge tip-over protection by how heavy, wide or steady the dresser seems. CPSC notes that heavy and wide furniture can still tip over. Its kit guidance also directs readers to check the kit’s instructions for the required number of restraints. CPSC anchoring-kit guidance
Find the exact instructions
Record the brand, model and product or article number. Save the manual for that specific item and look for its anti-tip warning, supplied restraint parts and designated furniture attachment points. Keep the restraint’s instructions with the furniture manual.
If the manual or parts are missing, ask the manufacturer for the correct instructions or replacement kit. Our missing furniture parts guide explains how to identify a part before requesting it. A spare screw from another project does not confirm a suitable replacement.
Check the wall before choosing hardware
Tell the installer whether the wall construction is known. Include a photo of the intended location and note skirting boards, a gap behind the furniture or other obstacles. A painted surface alone does not identify the structure behind it.
Have the attachment method checked against both the product instructions and the actual wall. CPSC’s installation guidance distinguishes wall types and calls for reading the anchoring-kit instructions. This guide does not specify a universal screw, anchor, strap count or drilling depth. CPSC installation guidance
If you rent, arrange any required permission and an appropriate installation plan before the work. Keep children away from an unanchored dresser while the required anchoring is being resolved; do not try to prove stability by climbing on it or deliberately tipping it.
Check recalls and existing restraints
Search the exact brand and model in CPSC’s recall and product-safety notices and the manufacturer’s notices. If it is covered, follow that notice’s instructions and remedy. Adding a restraint on your own does not establish that a recalled product’s requirements have been met.
If the dresser has been moved, the wall connection was removed or the restraint appears damaged, ask for the anchoring arrangement to be checked before treating it as complete. CPSC’s resources specifically remind readers to keep furniture anchored during cleaning and moving-related tasks. CPSC Anchor It resources
Save a short assessment checklist
- Identify: brand, exact model and product label.
- Instructions: furniture manual and restraint instructions.
- Parts: supplied anti-tip components and any missing or damaged pieces.
- Location: final position, wide wall photo and known wall construction.
- History: whether the furniture moved or an old connection was removed.
- Safety notices: any applicable recall or manufacturer instructions.
- Scope: confirm who will complete and check the required anchoring.
For room and delivery planning, our furniture-fit guide covers measurements before purchase. Leave space for the final arrangement required by the furniture instructions.
Request an assembly and anchoring assessment
For a Raleigh or Triangle project, see our furniture assembly service and request a scope review with the model, manuals, available parts and intended location. Tell us explicitly that you want the anchoring requirements assessed; confirm whether the wall and specified method are within scope before scheduling.
Use the estimate-photo checklist to document the area safely and keep personal details out of shared photos.