
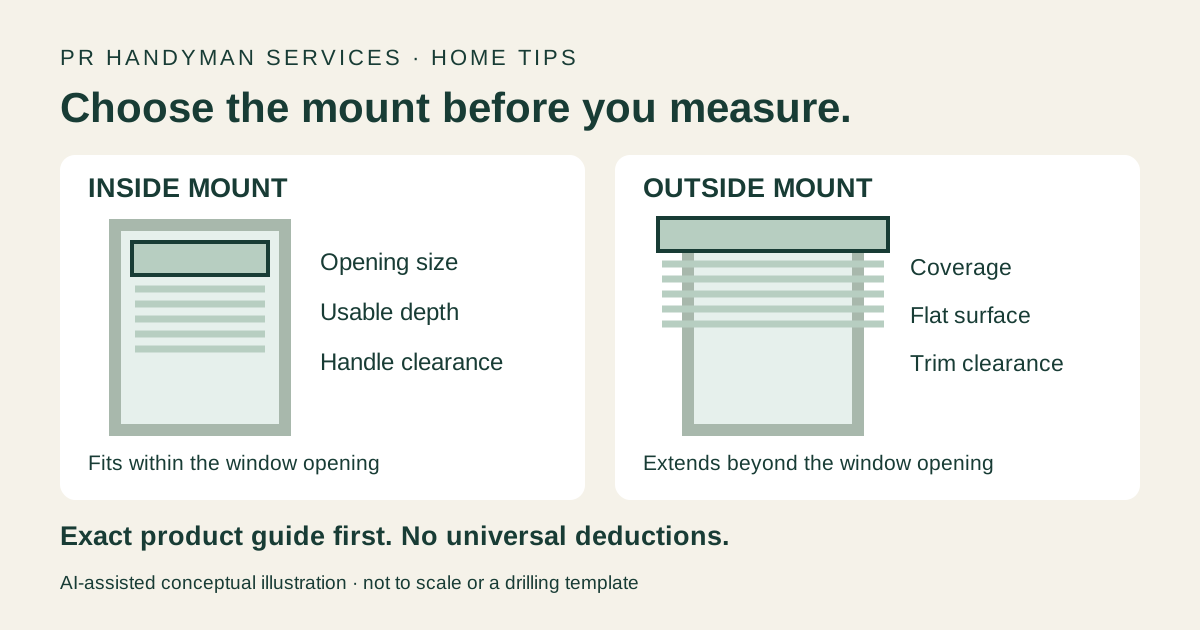
Choose the mount style before ordering blinds. An inside mount fits within the window opening and needs enough usable depth for the exact product. An outside mount sits beyond the opening and needs a suitable mounting surface and planned coverage. Record the opening, depth, trim and obstructions; follow the selected product's measuring instructions before converting those notes into an order.
1. Check depth and clearance first
Measure each window separately. Note the usable depth and any handle, latch or crank that could obstruct the blind. Compare that space with the exact product's minimum inside-mount and fully recessed requirements: being installable inside the opening does not necessarily mean it will sit flush.
Hunter Douglas explains the two mount styles and why shallow frames or obstructions can affect the choice. Also check the path of the covering when raised and lowered, nearby doors and the space for its top hardware.
2. Record inside-mount opening measurements
For traditional blinds and shades, Blinds.com's measuring guide calls for width readings at the top, middle and bottom, and height readings at the left, center and right. Its instructions use the smallest width and largest height and tell buyers to enter exact measurements without taking their own deductions. That is this retailer's guidance, not a universal rule for every product.
Keep all readings labeled width × height and follow the chosen model's guide for units, rounding, ordering size and factory deductions. Do not use the old blind's width as a substitute for measuring the opening.
3. Plan outside-mount coverage and support
Record the area you want covered, including whether the trim should remain visible. Check the flat surface available for the product's brackets and any projection needed to clear trim or handles. Use the exact product's instructions for overlap and top clearance; there is no single extra number to add to every window. Measurements alone do not identify suitable mounting material or fasteners.
4. Include the product and safety requirements
Keep the product link, mounting instructions and operating style with the measurements. CPSC recommends cordless window coverings as the safest option where young children are present. Mount style does not remove a cord hazard. Use the current product safety instructions, and mark high or difficult-to-reach measurements unknown rather than stretching to obtain them.
5. Send a clear scope-review request
- One label and measurement note per window
- Product link/model and its measuring guide
- Preferred mount, usable depth, trim and obstructions
- Safe wide photos and details of existing hardware
- Window count, access limits and required property-owner permission
Planning window-treatment installation in Raleigh or the Triangle? Send these details privately to PR Handyman Services to review whether the project is a fit. This does not confirm a price, appointment or ordering size. Use our estimate-photo guide, then request an estimate. For curtains, see the separate curtain-rod measurement checklist.